Project Manager/Author: Tanner Dekock | Isabella Macdea | Daniel Kessler
Introduction
The Lasertag Project team was created by and first led by Joey Kroeger, the club’s head of R&D, in Fall 2017. Before joining, I had barely known anything about drones, let alone built a quadcopter. But joining the lasertag team cemented my interest in UAVs and during this first semester we laid the groundwork for future semesters. By Spring 2017, Joey had to leave the team, so he asked me to take his place as team lead. Although I was new to the world of drones, it was a great opportunity to learn a broad array of engineering skills as well as management skills. We had our fair share of challenges but in the end I believe all three of us became better engineers because of it. The project tested our technical knowledge and forced us to come up with creative solutions while under the pressure of an imminent deadline. Lastly, I couldn’t have asked for a better environment to pursue this project. UAVs@Berkeley has such a welcoming and friendly atmosphere that makes it easy for new members to ask questions and get help from more senior members. The collaborative and welcoming environment at UAVs@Berkeley, helped make this project happen.
Motivation
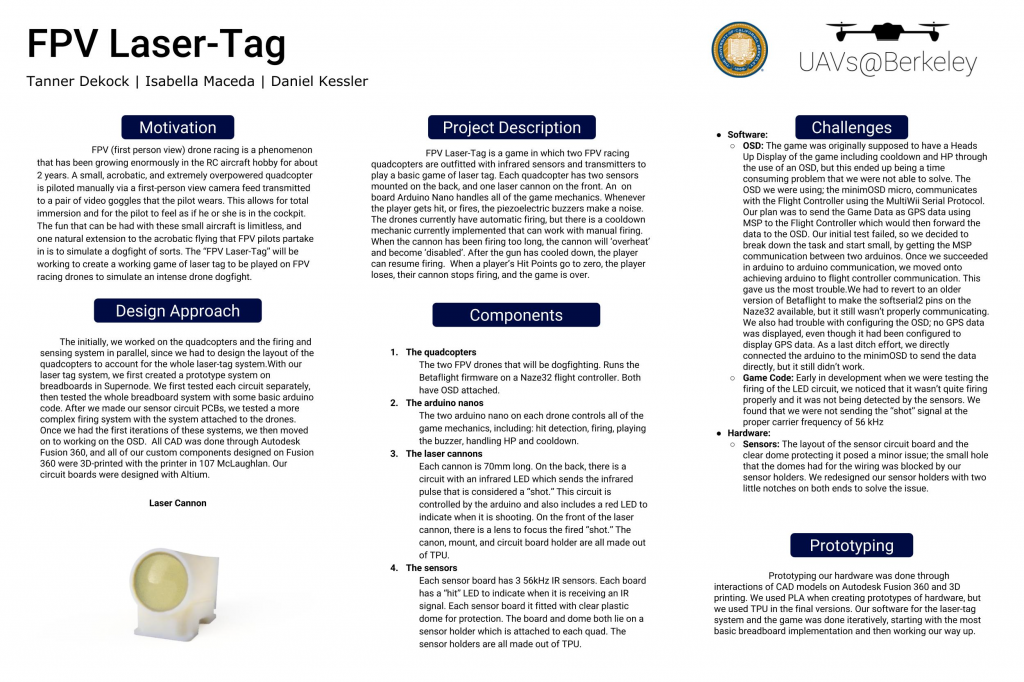
FPV (first person view) drone racing is a phenomenon that has been growing enormously in the RC aircraft hobby for about 2 years. A small, acrobatic, and extremely overpowered quadcopter is piloted manually via a first-person view camera feed transmitted to a pair of video goggles that the pilot wears. This allows for total immersion and for the pilot to feel as if he or she is in the cockpit. The fun that can be had with these small aircraft is limitless, and one natural extension to the acrobatic flying that FPV pilots partake in is to simulate a dogfight of sorts. The “FPV Laser-Tag” will be working to create a working game of laser tag to be played on FPV racing drones to simulate an intense drone dogfight.
Projection Description
FPV Laser-Tag is a game in which two FPV racing quadcopters are outfitted with infrared sensors and transmitters to play a basic game of laser tag. Each quadcopter has two sensors mounted on the back, and one laser cannon on the front. An on board Arduino Nano handles all of the game mechanics. Whenever the player gets hit, or fires, the piezoelectric buzzers make a noise. The drones currently have automatic firing, but there is a cooldown mechanic currently implemented that can work with manual firing. When the cannon has been firing too long, the cannon will ‘overheat’ and become ‘disabled’. After the gun has cooled down, the player can resume firing. When a player’s Hit Points go to zero, the player loses, their cannon stops firing, and the game is over.
Design Approach
The initially, we worked on the quadcopters and the firing and sensing system in parallel, since we had to design the layout of the quadcopters to account for the whole laser-tag system.With our laser tag system, we first created a prototype system on breadboards in Supernode. We first tested each circuit separately, then tested the whole breadboard system with some basic arduino code. After we made our sensor circuit PCBs, we tested a more complex firing system with the system attached to the drones. Once we had the first iterations of these systems, we then moved on to working on the OSD. All CAD was done through Autodesk Fusion 360, and all of our custom components designed on Fusion 360 were 3D-printed with the printer in 107 McLaughlan. Our circuit boards were designed with Altium, by UAVs@Berkeley member James Dunn.
Prototyping
Prototyping our hardware was done through interactions of CAD models on Autodesk Fusion 360 and 3D printing. We used PLA when creating prototypes of hardware, but we used TPU in the final versions. Our software for the laser-tag system and the game was done iteratively, starting with the most basic breadboard implementation and then working our way up.
Components
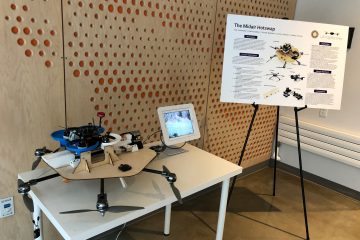
- The Quadcopters: The two FPV drones that will be dogfighting. Runs the Betaflight firmware on a Naze32 flight controller. Both have OSD attached.
- The Arduino Nanos: The two arduino nano on each drone controls all of the game mechanics, including: hit detection, firing, playing the buzzer, handling HP and cooldown.
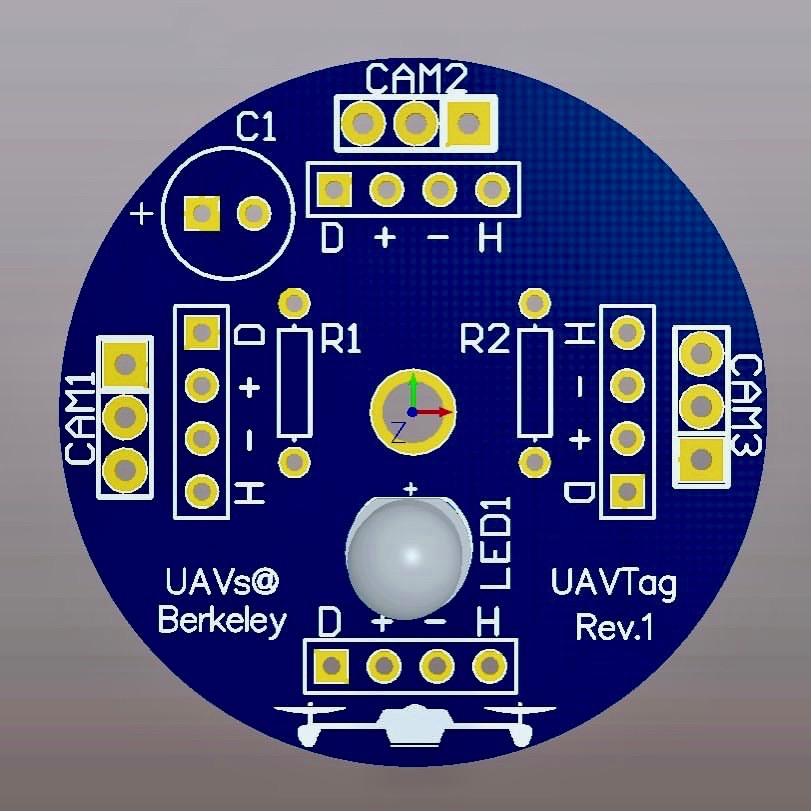
- The Laser Cannons: Each cannon is 70mm long. On the back, there is a circuit with an infrared LED which sends the infrared pulse that is considered a “shot.” This circuit is controlled by the arduino and also includes a red LED to indicate when it is shooting. On the front of the laser cannon, there is a lens to focus the fired “shot.” The canon, mount, and circuit board holder are all made out of TPU.
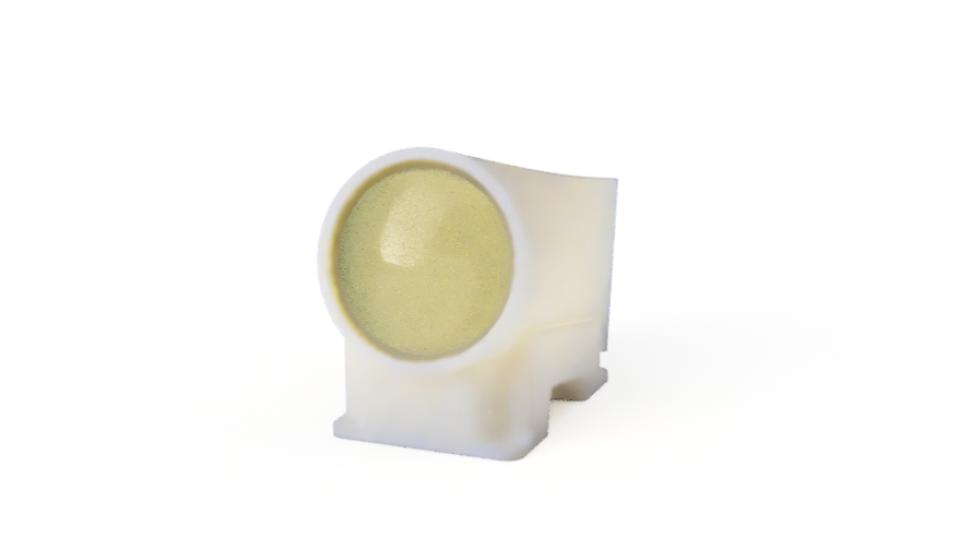
- The Sensors: Each sensor board has 3 56kHz IR sensors. Each board has a “hit” LED to indicate when it is receiving an IR signal. Each sensor board it fitted with clear plastic dome for protection. The board and dome both lie on a sensor holder which is attached to each quad. The sensor holders are all made out of TPU.
Challenges
Software
- OSD: The game was originally supposed to have a Heads Up Display of the game including cooldown and HP through the use of an OSD, but this ended up being a time consuming problem that we were not able to solve. The OSD we were using; the minimOSD micro, communicates with the Flight Controller using the MultiWii Serial Protocol. Our plan was to send the Game Data as GPS data using MSP to the Flight Controller which would then forward the data to the OSD. Our initial test failed, so we decided to break down the task and start small, by getting the MSP communication between two arduinos. Once we succeeded in arduino to arduino communication, we moved onto achieving arduino to flight controller communication. This gave us the most trouble.We had to revert to an older version of Betaflight to make the softserial2 pins on the Naze32 available, but it still wasn’t properly communicating. We also had trouble with configuring the OSD; no GPS data was displayed, even though it had been configured to display GPS data. As a last ditch effort, we directly connected the arduino to the minimOSD to send the data directly, but it still didn’t work.
- Game Code: Early in development when we were testing the firing of the LED circuit, we noticed that it wasn’t quite firing properly and it was not being detected by the sensors. We found that we were not sending the “shot” signal at the proper carrier frequency of 56 kHz.
Hardware
- Sensors: The layout of the sensor circuit board and the clear dome protecting it posed a minor issue; the small hole that the domes had for the wiring was blocked by our sensor holders. We redesigned our sensor holders with two little notches on both ends to solve the issue.
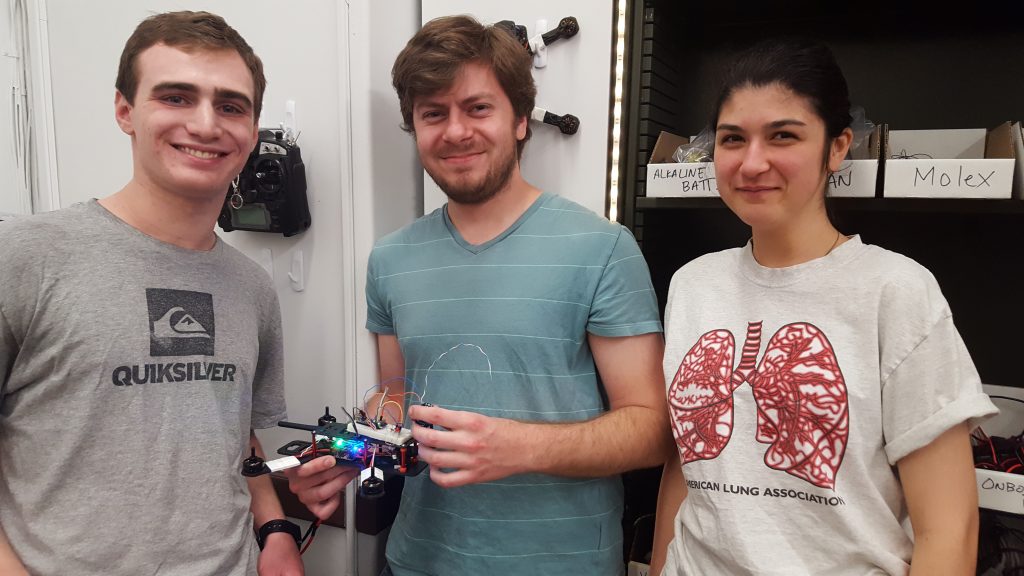
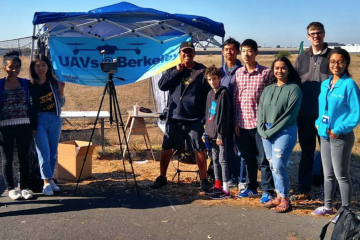
Team
From left to right: Daniel Kessler, Tanner Dekock, Isabella Maceda
0 Comments